Rhoda’s onboard GPS (Magnadyne) needs a map update.
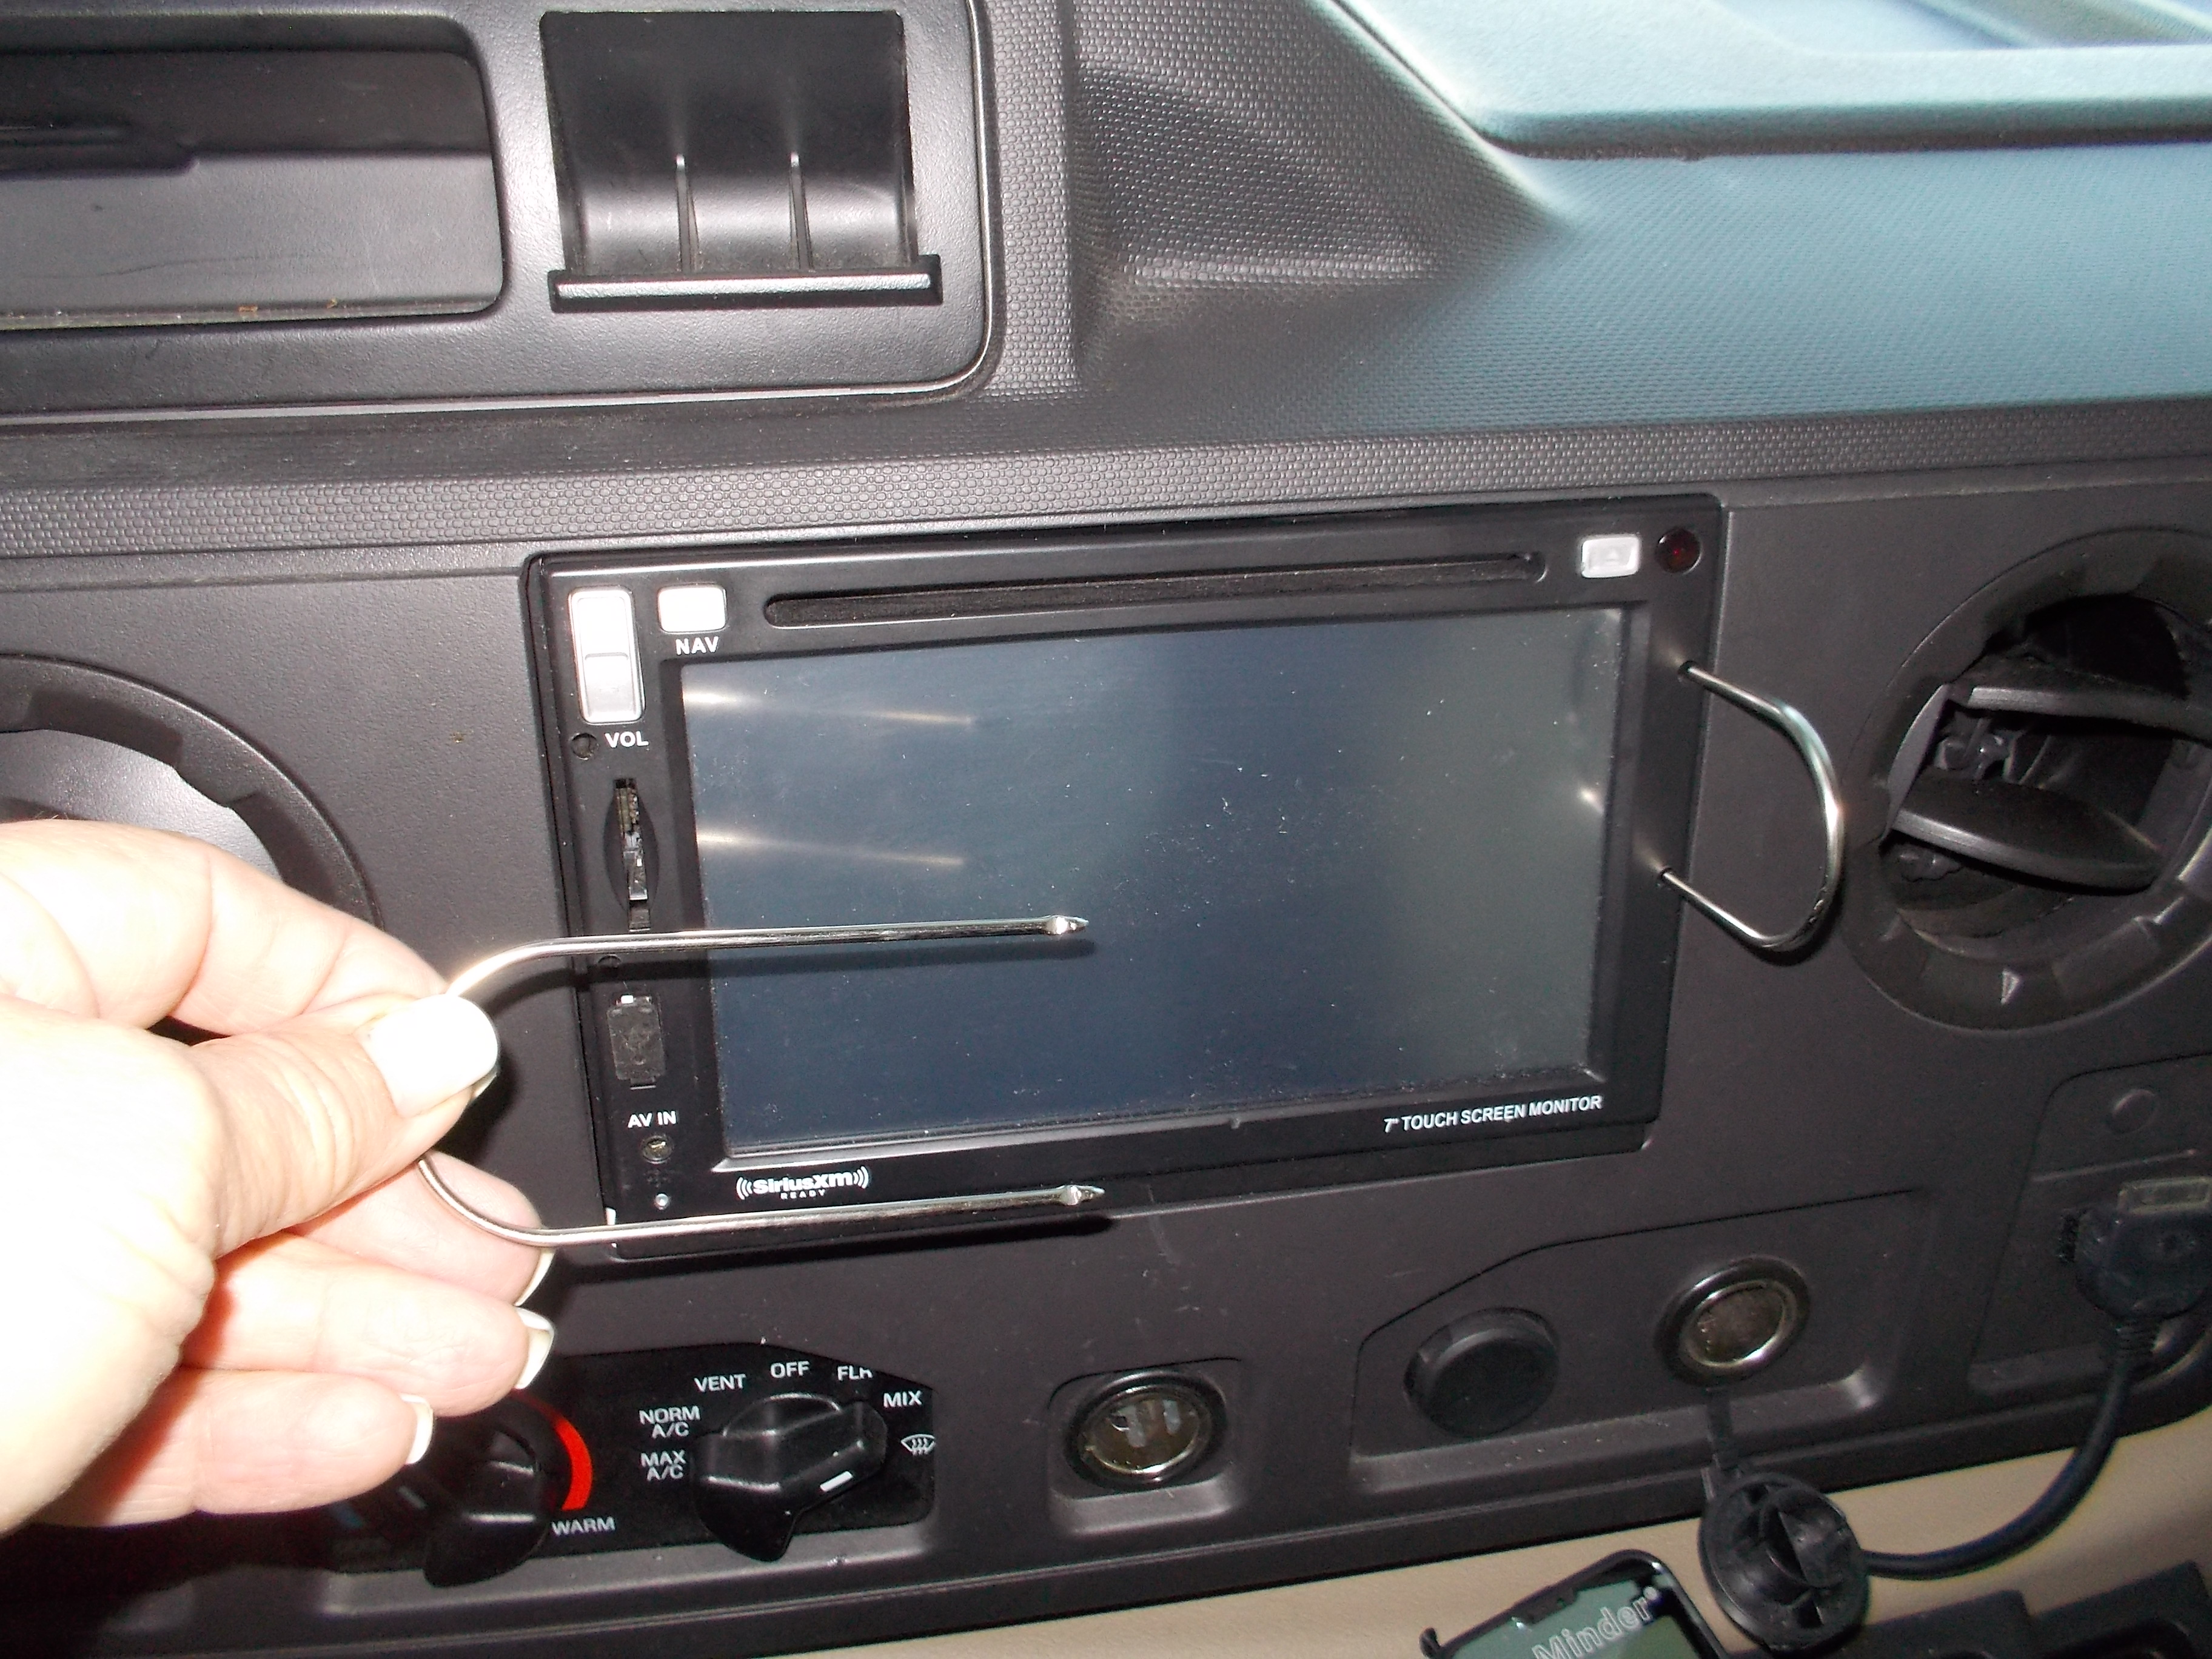
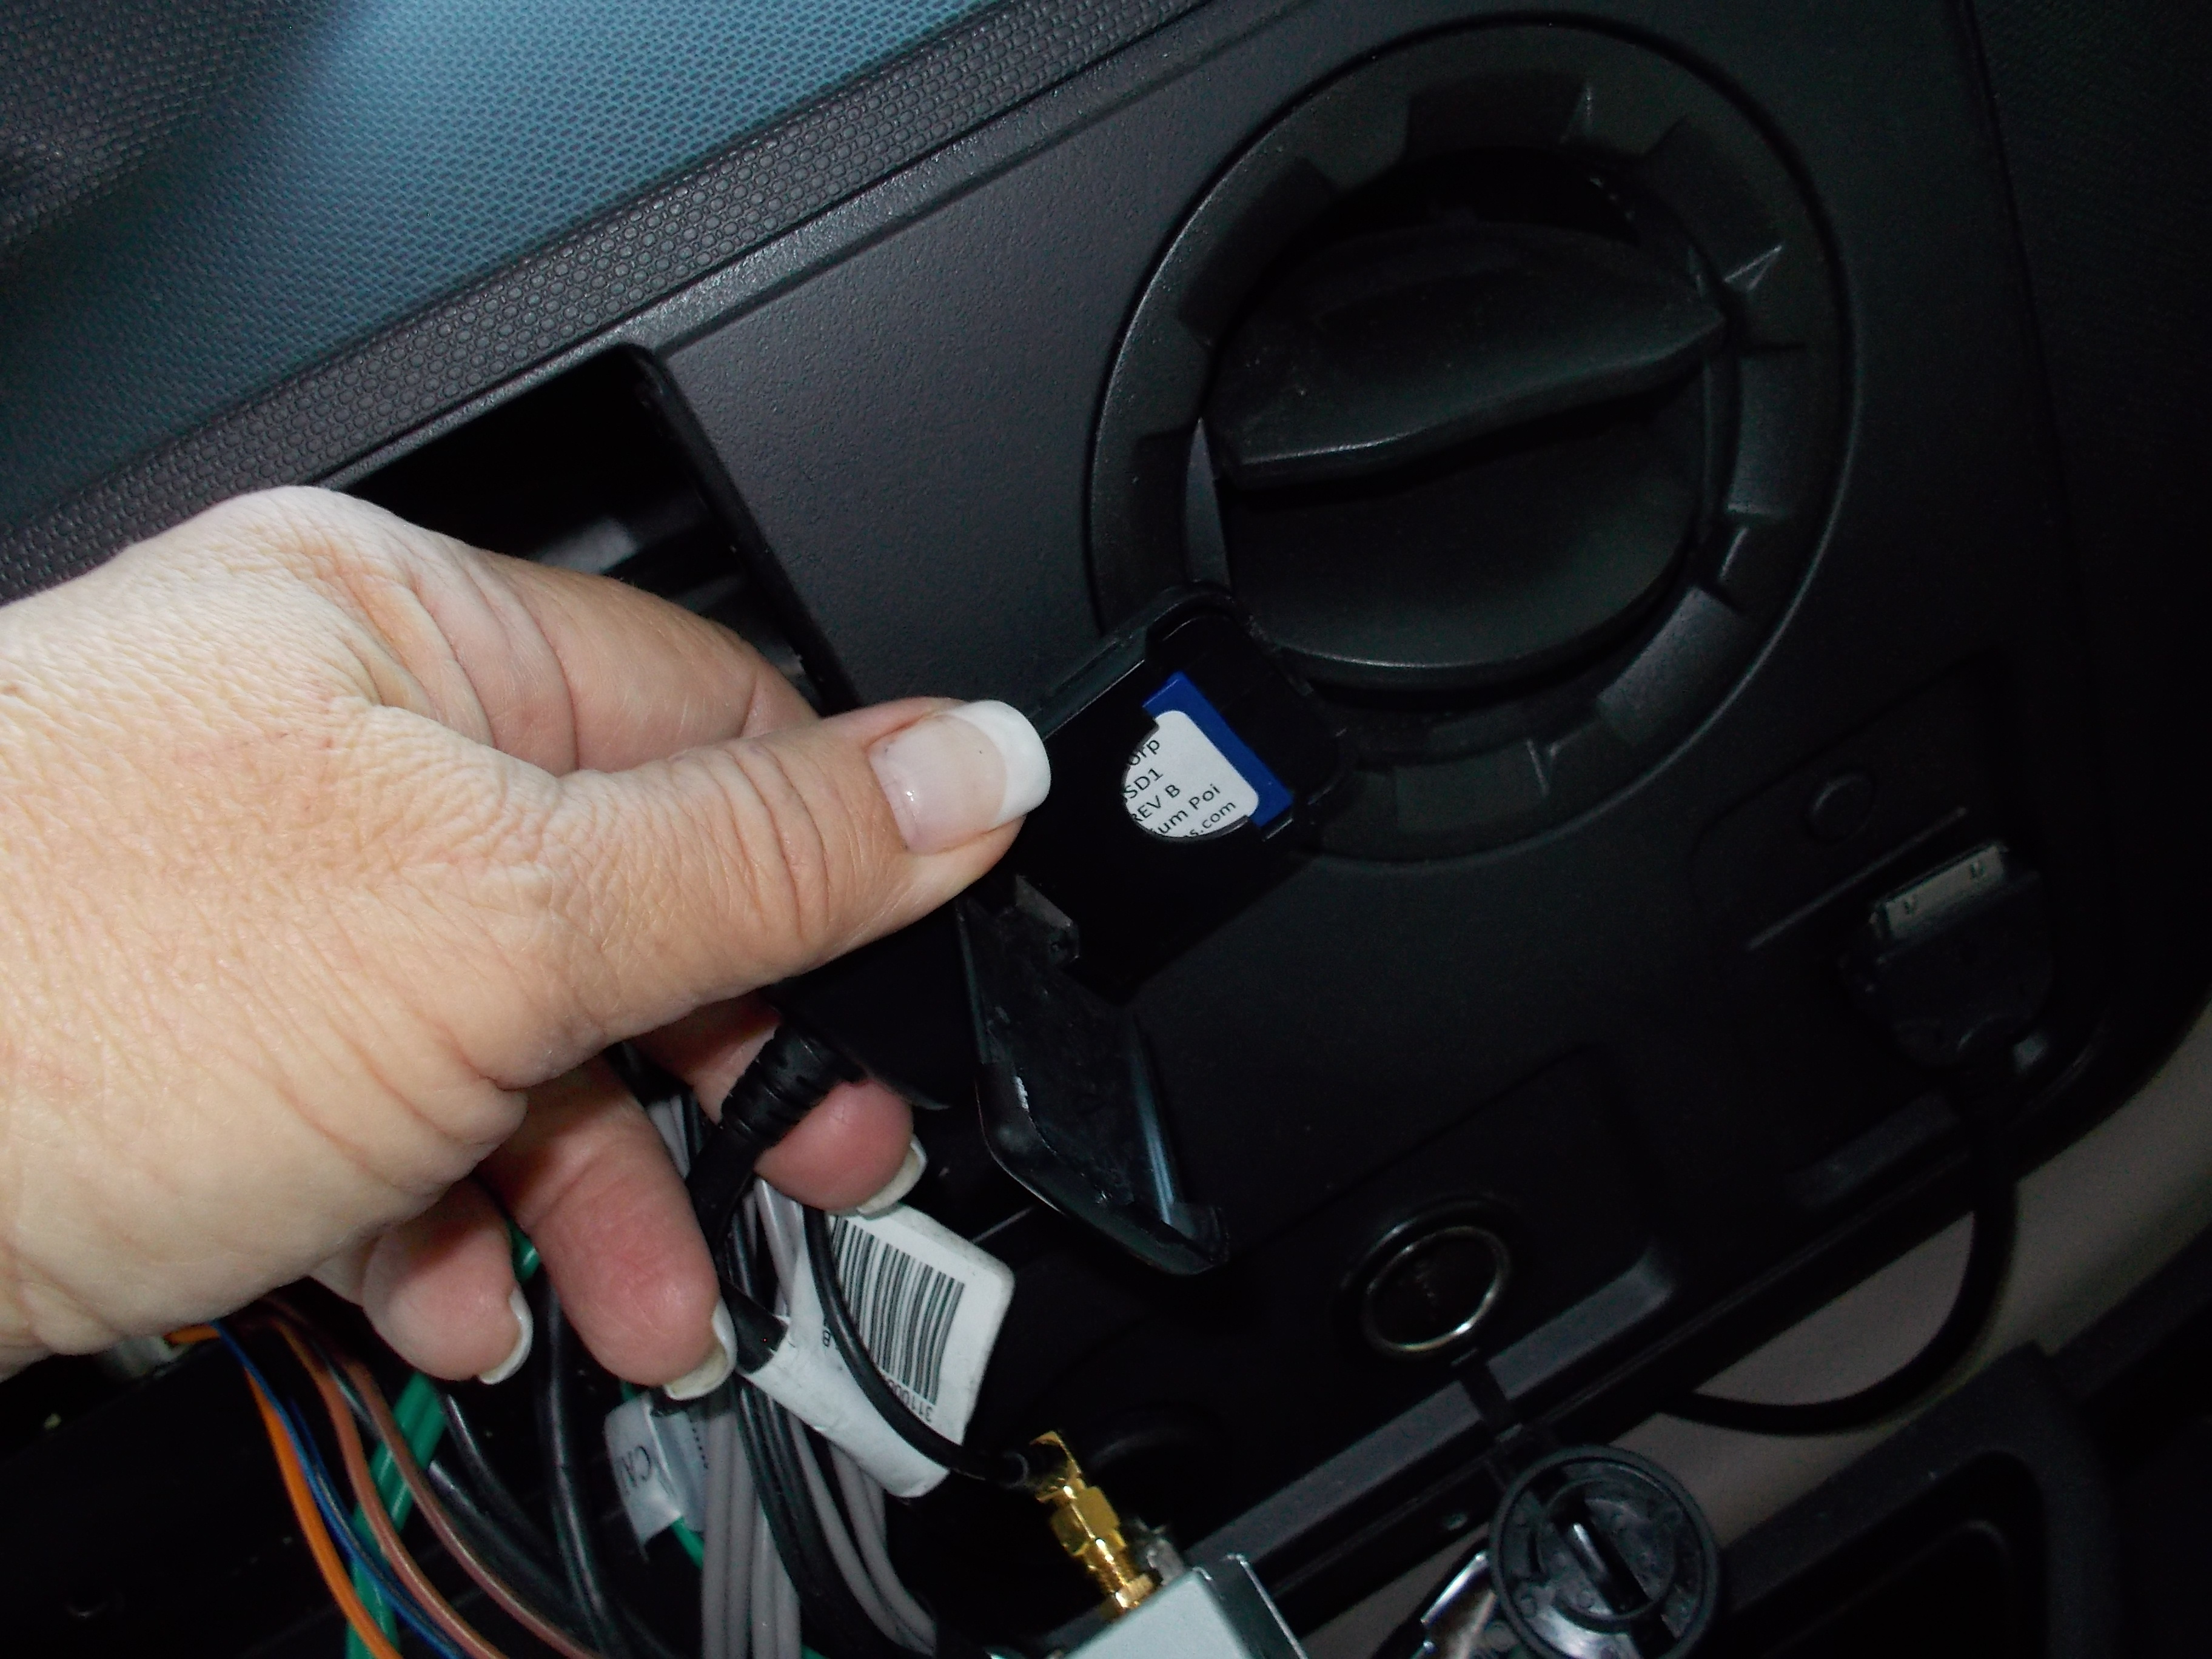
That means I’m going to have to get the GPS out of the dash before I can get at the SD card in the back. “You have got to be kidding! Why didn’t they use the SD slot on the front panel???” http://www.manualagent.com/magnadyne/m4-lcd/users-manual/page-55
I don’t mind learning how to do this but I’m at a loss trying to understand how the designer of this unit thought this was the easiest, most convenient place to put the SD card. I’m guessing that they got a little feedback as the newer model utilizes the built-in card reader on the front of the unit.
OK, time to get busy. Here are the steps I followed to locate and update the SD card.
If you don’t have a set of the U-shaped tools, you can purchase them from a place like The Source, Amazon or Best Buy. If you don’t want to make that trip to the store or if you are handy and just don’t want to pay for something you can whip up with a hangar and wire cutters, you may be interested in this video I found on YouTube. http://youtu.be/SvHUJx5kygo
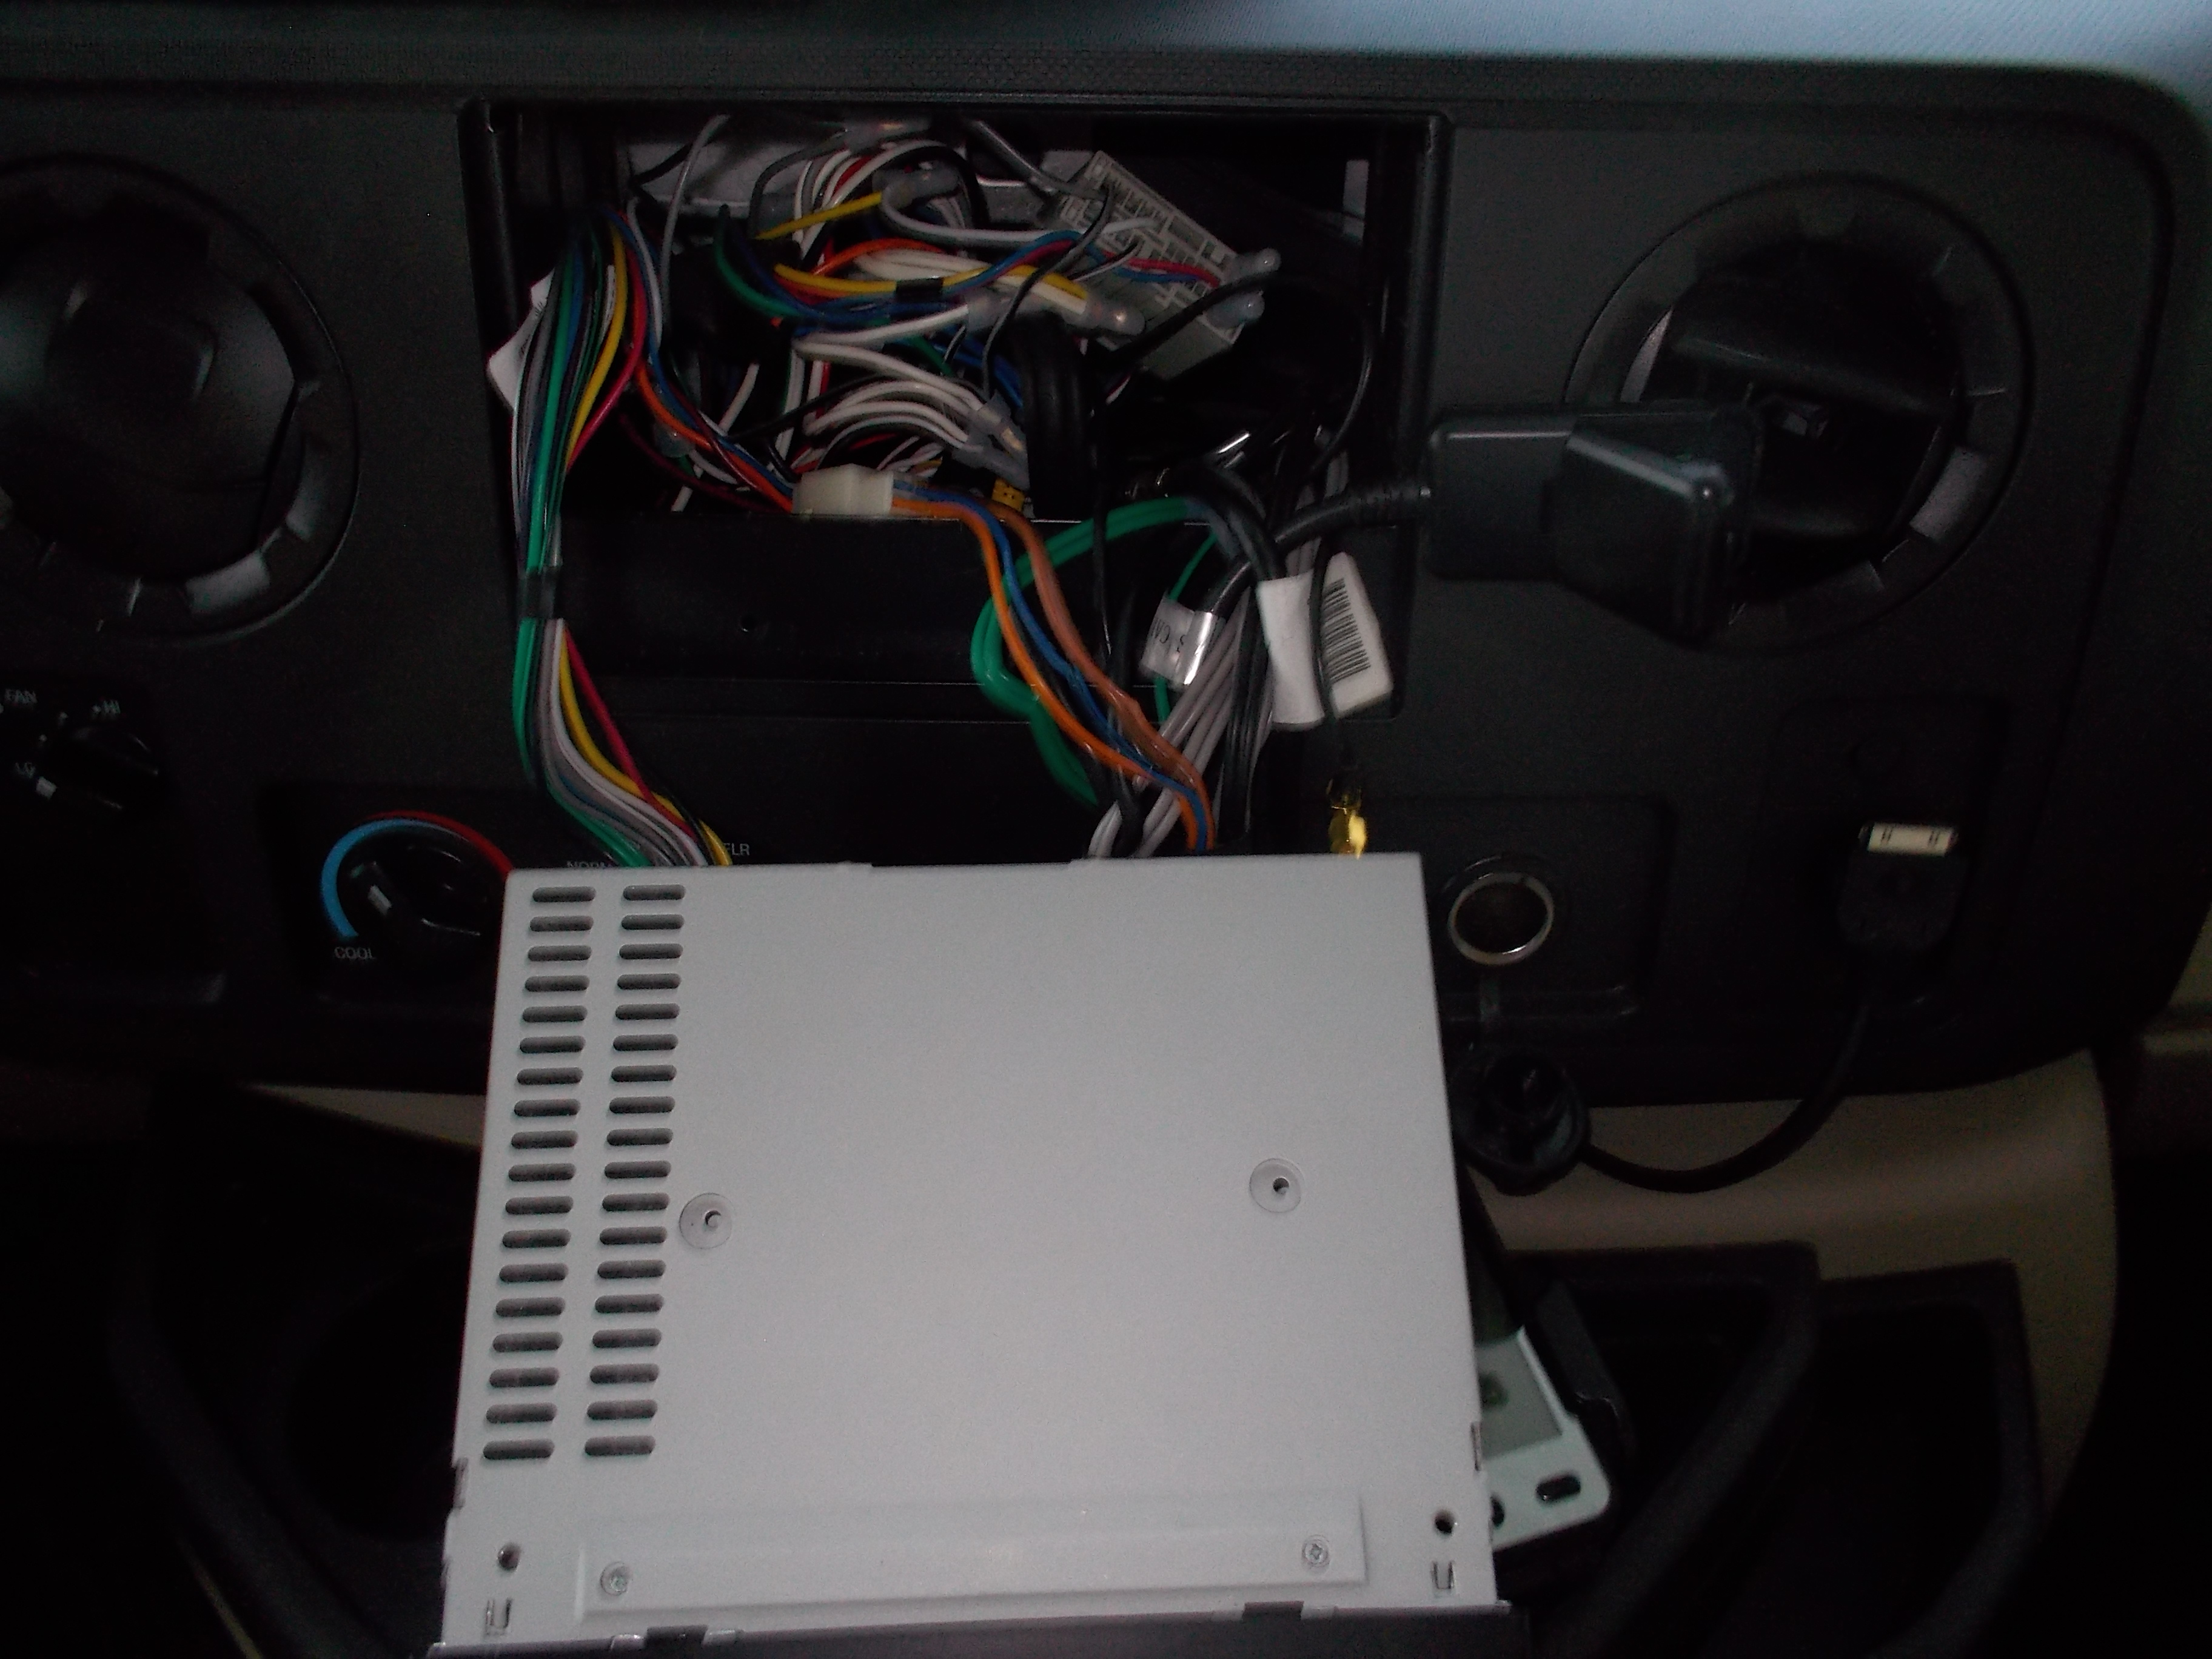
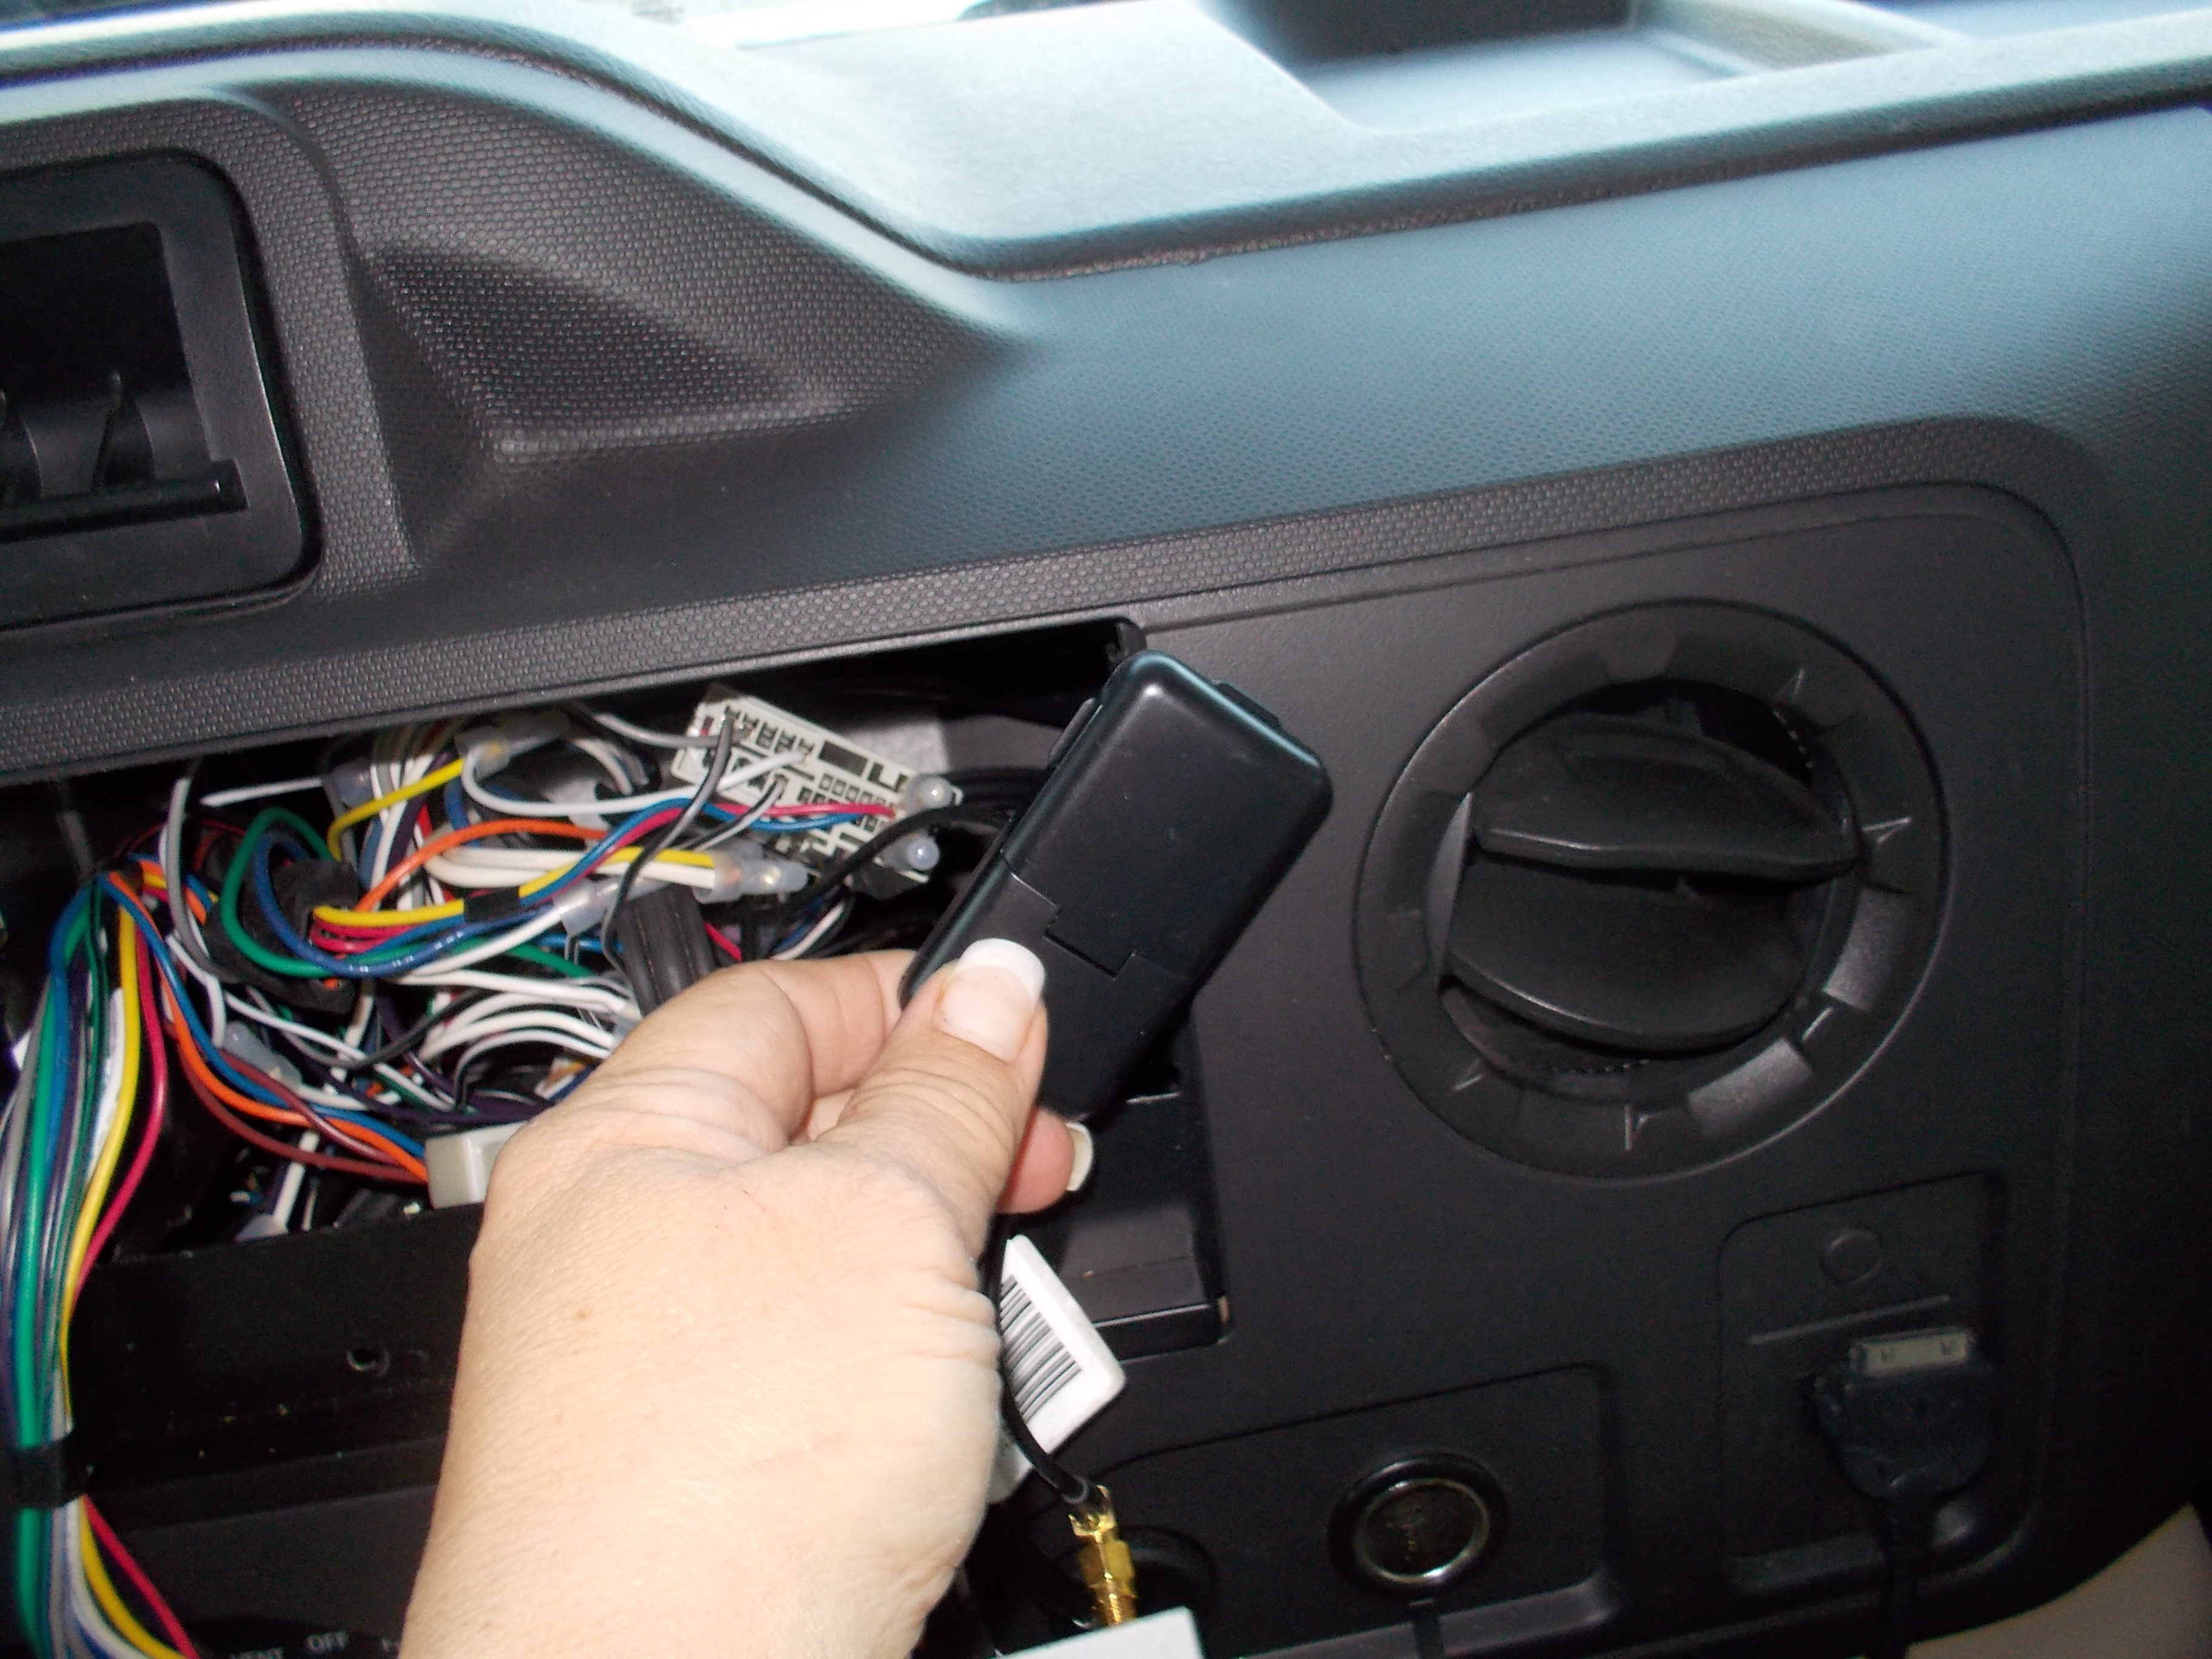
Since Rhoda came with the extraction tools, I was able to get right to the job of pulling the component from the dash.

Insert the SD card in the SD reader on your computer. Open the link and follow the directions.
https://www.naviextras.com/shop/portal
Once the card has been updated you will need to reinstall it in the Magnadyne, start the GPS and wait for the navigation screen to appear.
Next shut down the unit, remove the card and replace it in your computer. (Do not skip this step)
You should get a message telling you that your update was successful. Remove the SD card and return it to the GPS.
Putting it all back……… Make sure all the wires are tucked into the receptacle and free from being pinched as you slide the unit back into the hole.
Once the unit is in place, press gently but firmly on each side until it snaps back into the brackets and flush with the dash.
That’s it, all done. A bit of a user unfriendly process but I’m going to just let that go. 🙂
